Showing posts with label Rocks. Show all posts

Tuesday, June 02, 2015

One More Step...or Roll

Rocks have been one of our garden specialties.  We were ready to remove some again and our 1989 wheelbarrow was having issues.
 
A new wheel and we are ready to go.  Time to remove both the bed endcap stones and all the rocks that collect throughout the garden.   Gradually, that is.  Instead of weeding in the nice summer evenings, I'll be stone/rock hunting to prepare for a fresh tilling of the whole space.
 

Tuesday, June 03, 2014

The New Plan


Our new inspiration, a beach in Spain.
 
"Whatcha doing?"   "Moving this rock I keep hitting with the mower."
 
 
And we have new additions to our rock collection.  The big one took two boards to lever it out. One more rock to go from the former blackberry bramble.  I recommended adding more dirt instead.
 

Monday, April 07, 2008

Seed Rocks

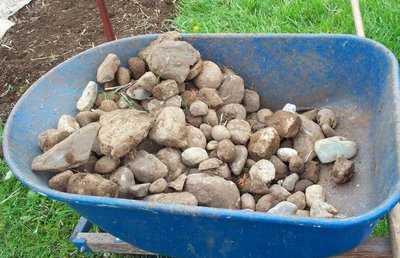
Apparently, I didn't harvest all of the rocks from last year's new garden beds. Over the winter, they multiplied!
These all came out of the small sections I prepared on Saturday for peas and beans. They've now been added to the rocks harvested in prior years. One day, they'll be part of a landscape project.

Monday, May 28, 2007

Digging Doubles

On Saturday, I started preparing the two new beds for planting pole beans soon. They are on the north end of the garden area. The land slopes down a little and a few test holes in this area last year indicated less top soil and more rocks. I've been putting off the digging but it couldn't wait any more. Sure enough, two loads of rocks came out of the two 4 feet x 6 feet areas I dug.
...Including this nice specimen, above. It will get a bath and be incorporated in the garden somewhere.
Next, two loads of the last of the sheep straw compost went in (had to replace all of those rocks with something).
Above, is the start of the digging with a trench down the middle of one of the 6ft section where the bean structure will go. Then, I also dug along each side of the shown trench. I don't do double digging in the most orderly manner, but similar idea. I remove about a shovel's depth of soil (here, thrown along the rest of the bed) , then loosen (& remove rocks) from another shovel's depth. Next, mix in compost and toss in soil from the next section being dug. It all gets stirred around a bit in the process. New beds get this treatment, but repeat beds don't seem to need it.
Now to let it settle. I started with the middle 6 feet (each bed is 22-23 feet long and 4 feet wide) so I can get the bean structure (laying next to the bed) in place before planting seeds. If you haven't seen the bean structure in action, check out this posting from last August. If you cannot tell, the structure spans the two beds and the path goes underneath it.

I'll work on the other areas in each bed over this next week (part of one done tonight). After I finish throwing around dirt, I'll tidy up the pathways too.

Wednesday, May 16, 2007

May 15th Garden

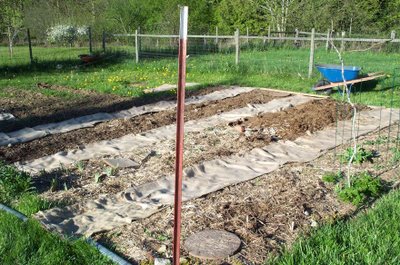
Here are the stone "endcaps" in place in the garden. I hope they'll be a nice way to separate bed and grass, and easy enough to trim around. These stones had been elsewhere around the house. You can see some progress on the expanded herb/flower area (new bed #2 here, also with the chair in it). Check out this link to compare May and April photos and see earlier monthly photos. The other 2 new beds this year are at the far end and have the bean structure in them. They still need some preparation. The little A-frames are giving a little protection to the tomatoes.
I can also see that the "endcaps" are also going to be a nice collector of rocks. Later, I'll move them to the growing rock pile outside of the garden.

Friday, April 20, 2007

Leaves go in and rocks come out

I wasn't around while Dear Husband rototilled the herb garden expansion last weekend. Later, I asked him how the soil tilled. Not bad, but a little rocky, he said. I asked what he did with the rocks. Don't worry, he said. You won't miss them.....

The bottom rock has been in the herb bed, but the top rock I just saw tonight.
Last fall, loads of leaves were dumped in the area to be tilled. I hope the worms enjoy the leaf salad mulch now tilled under. They should make a better meal than the rocks.
PS for my records, we had quite the frost last night. I'm encouraged by finally hearing another hummingbird, other than the one that camped out in the barn some weeks ago.

Saturday, April 29, 2006

Garden preparation update

On Thursday, I measured out two new beds. I'm also widening the two beds from last year. On Friday evening, my DH rototilled the new beds. Today, I finished digging & widening the two existing beds before it started raining. (Here is a link to the garden in spring 2005.)Above, you can see the coffee bag pathways (taken on Thursday). (Link to more about coffee bags.) Each of the 4 beds are 4 feet wide with 2 feet pathways. They are about 22 feet long. The herb bed is also in this area, but not shown in the picture. The silver metal poles just happen to be 4 feet long so I was just using them for spacing.

Existing bed (above left picture, taken today)-with mystery flowers and irises on the end, in the middle are some rudbeckia and gaillardia I worked around. I covered part of the row after digging until I have a chance to mulch it. New beds are left of this bed.
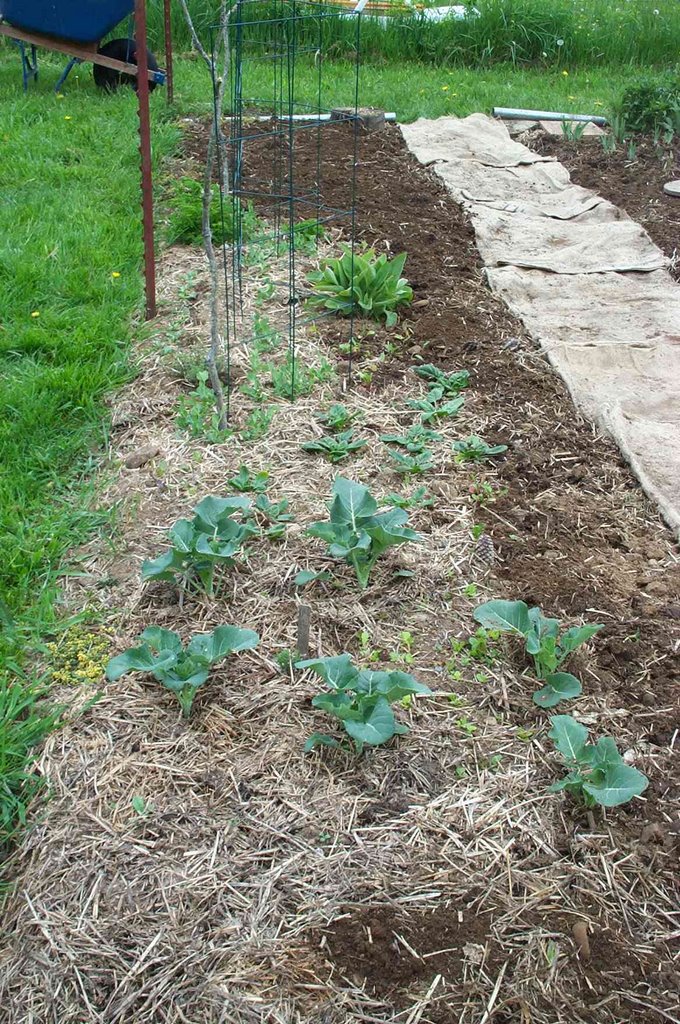
The other existing bed (above, right) after widening and digging. I worked round the peas, broccoli, spinach, lettuce and parsley in this row. Thyme (golden, maybe) at the bottom of the picture.

Above, left picture is the herb row. At the bottom of the picture is the metal catnip guard/protector created by running over a tomato cage with the riding lawn mower. The above, right picture is another shot of the existing bed with peas, etc. Between these two beds is about 6 feet of grass. This summer I plan to remove the grass and extend the herb/perennial bed. Another fine crop of rocks!

Wednesday, April 12, 2006

Who planted the rocks?

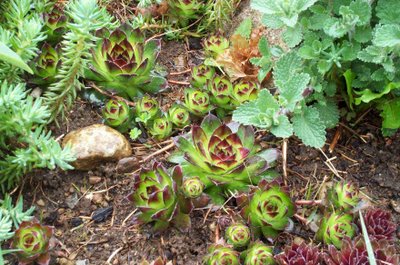
My dear husband did a little more rototilling this evening in the garden expansion area. I did some digging when I got home and discovered way more big rocks in the area than I'd like to see. The clay soil wasn't too far below the surface either. This area may need at least a year's worth of composting (& rock removal) before proceeding. Here are some other photos, however. These are the chickens in my garden! The chicks and the sedum on the left are from starts brought back from my Kansas family. That's catmint in the upper right. Radish seedlings making their appearance, along with surfacing rocks. Years ago, a friend gave the seeds to us. They were in a long strip of tissue to make them easy to plant. I've thinned them some since this picture.
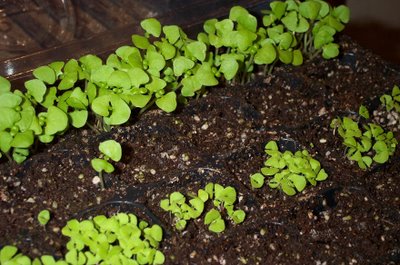
Snap peas coming up between the parsley and volunteer borage. Oh yes, there are some little rocks growing from pieces left last year. When we first dug this area last year, the soil was good and the rocks weren't as thick as the new area. And the top row of basil is from my seed friend also! Gift seeds must grow better than others. I didn't expect ALL of them to sprout. The lower row is another type of basil.